Add your organisation details which will appear on Invoices, Estimates and Purchase Orders. Navigate to the Organisation option in the Admin menu.
Step 1: Select the +Add button in the top right corner:
Step 2: Complete the fields on the pop-up. Board can be set as default until additional boards are created. Review Invoices: If not selected, the invoices will skip the second invoice lane on the Billing table. Set as default: the organisation will automatically set for new invoices.
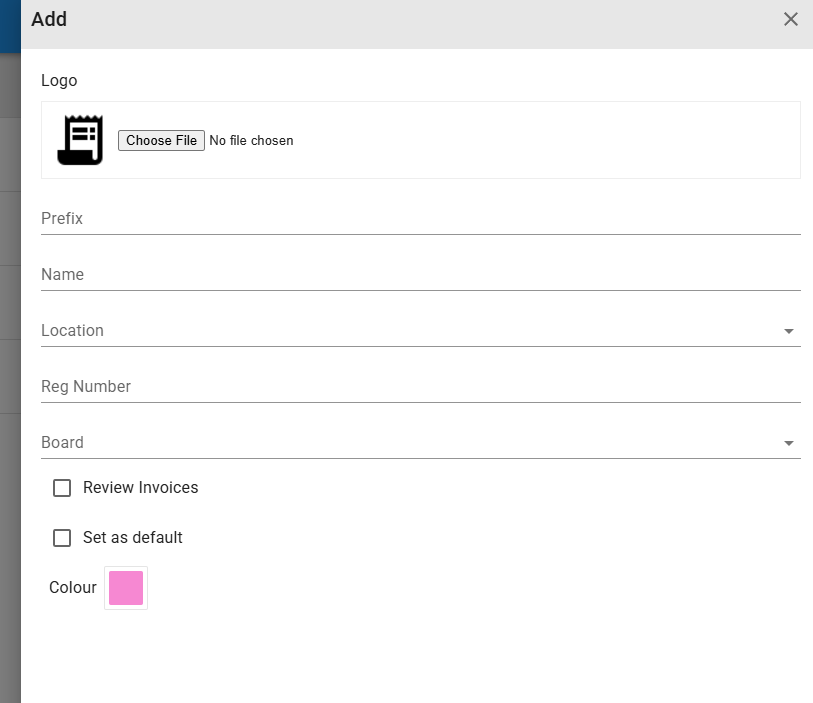
- Prefix: The prefix will be added to the auto numbering of invoices for the Billing page. Jobs pushed to the invoices page will keep the job number.
- Name: The full organisation name which will be displayed on invoices and reports.
- Location: Link the organisation Location (Add On Admin/Location) for purchase order reporting purposes.
- Reg Number: The organisation’s registration number.
- Board: Link to one of your boards for reporting purposes.
- Review Invoices: Select the check box if the invoice should be reviewed, if left deselected, the invoice will skip the second lane and move to the third lane when using the status button on the job pop-up.
- Set as default: Only one organisation in your list can be set as the default, once set the invoices pushed from the Jobs pages will default to the organisation as the ‘Invoice From’ selection.
- Colour: Select the colour to be displayed on the Billing page’s invoice cards
Step 3: Select the Save button to Add the new organisation OR select the Cancel button to close the modal, then the item will not be added.
