To update your existing Inventory, select the Inventory option form the Admin menu.
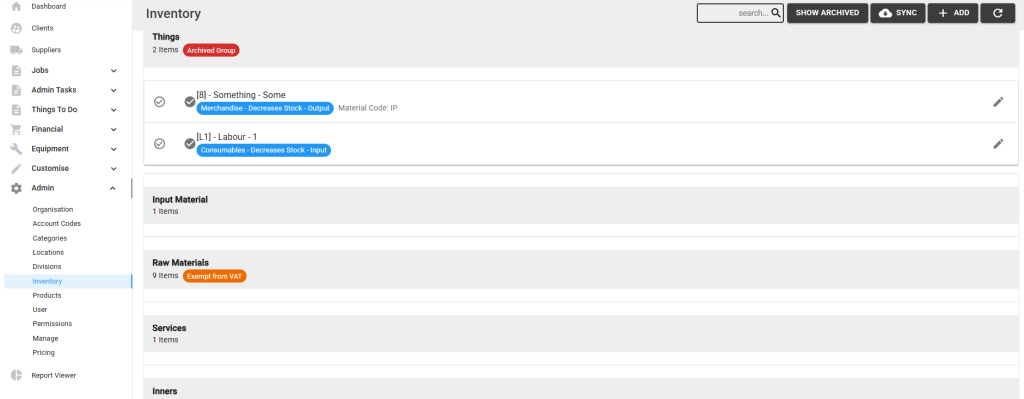
Step 1: Search the inventory item by expanding the inventory category or entering the name in the search field:

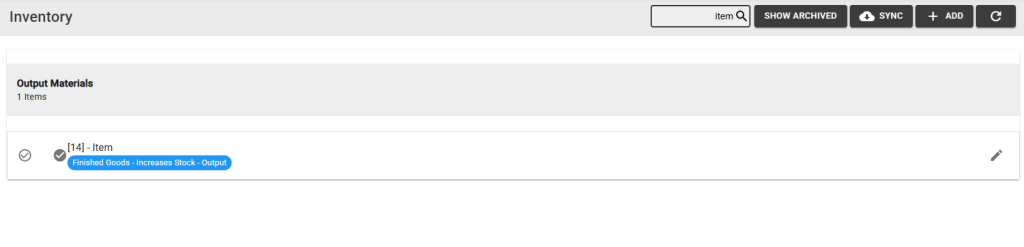
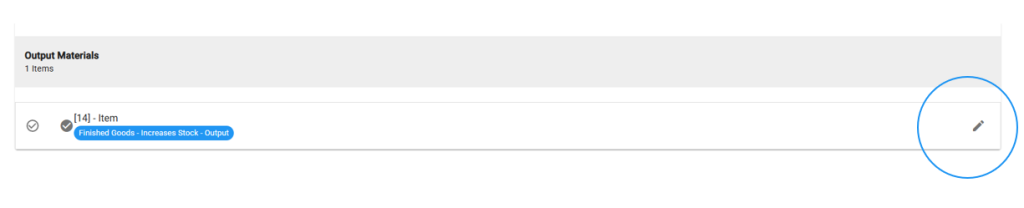
Step 2: Select the edit (pencil) button for one of the items in the list:
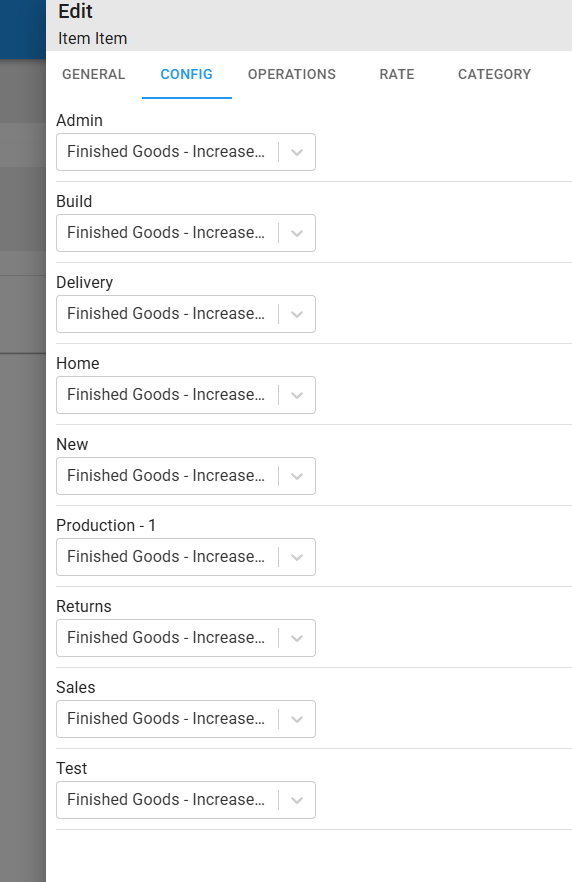
Step 3: Update the existing details on the various tabs:

Default PO Note: Enter any details to be displayed on all Purchase Order reports.
Default Class: This is the default behaviour for this inventory class. You can customise this configuration per job card type.
| Class | Job Card behaviour | Storage location behaviour |
|---|---|---|
| Default (None selected) | Output side | No action |
| Consumables | Input side | Outbounds (Reduces level) |
| Raw Materials | Input side | Outbounds (Reduces level) |
| Merchandise | Output side | Outbounds (Reduces level) |
| Finished Goods | Output side | Inbounds (Increases level) |
| Work in progress | Output side | Inbounds (Increases level) |
Default Storage Location: Select a default store the inventory must be drawn (input) from or placed in (output). This must be set in order to make use of the auto inbound/outbound functionality if you are linked to Marss.
Config tab: Update the item’s class per job category, if necessary. Set this if you are using the same inventory as input for manufacturing type jobs, and output for sales type jobs:
Operations tab: Complete the various operations related details which assists with features such as the FEFO and FIFO picking of input of a job:
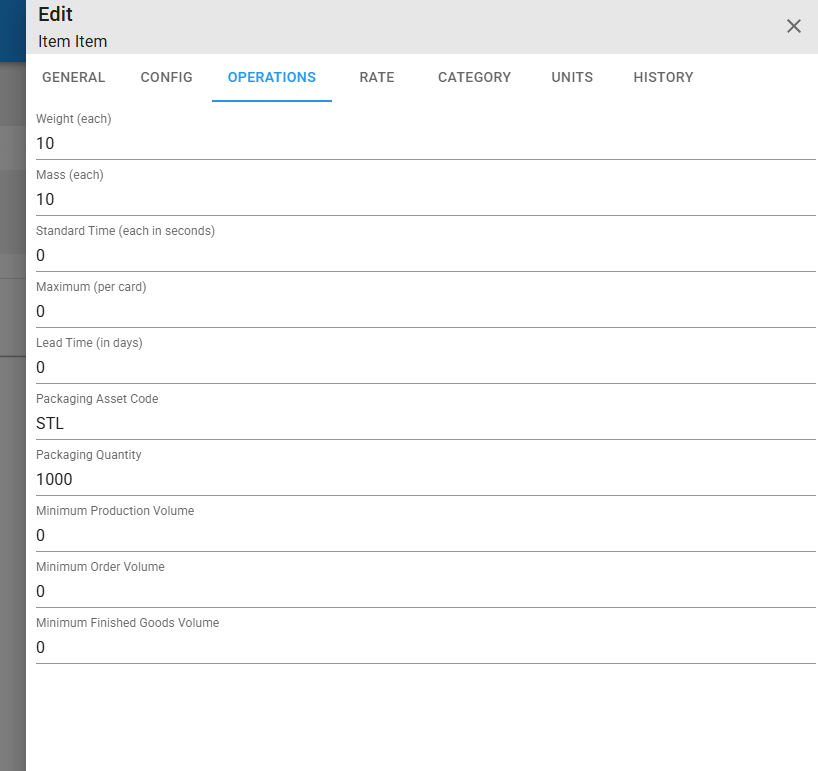
Packaging Asset Code: Enter the asset category code from MARSS. This will affect output asset packaging linking on your jobs.
Packaging Quantity: The maximum quantity of inventory allowed on/in the packaging asset.
Rate tab: Set the default rate values for the inventory:
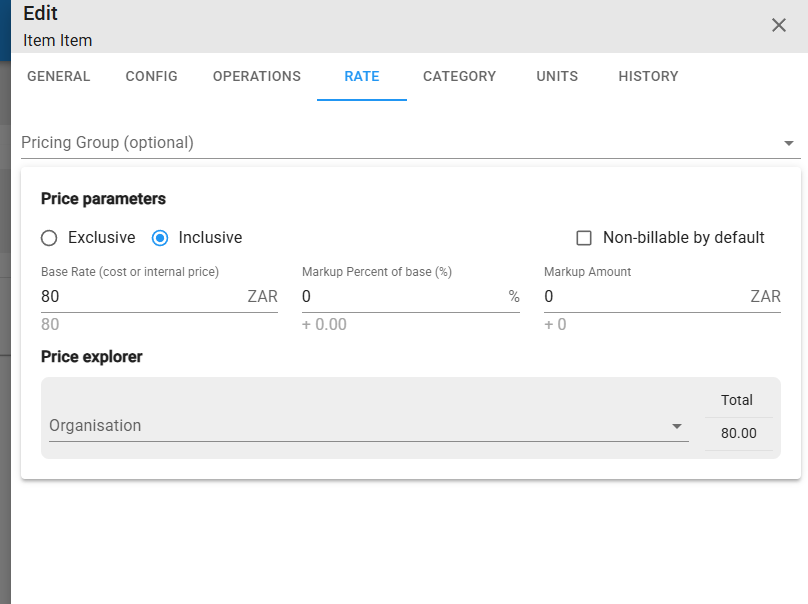
Pricing Group: Select one of the pricing groups setup on the Pricing page.
Organisation: Select one of the Organisations setup on the Organisation page to apply the organisation VAT.
Cartegory tab: Enter the details of the corresponding input category from Marss which assists with features such as the FEFO and FIFO picking of input of a job:
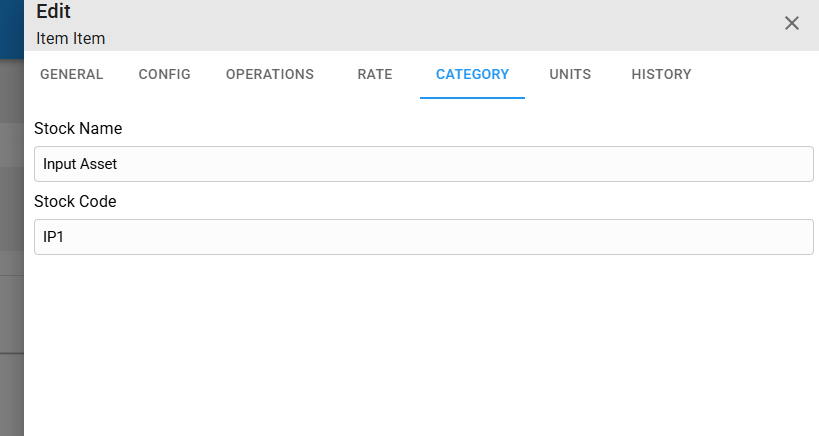
Stock Name: The name of the asset category on Marss.
Stock Code: Enter the asset category code from MARSS. This will affect input asset linking on your jobs.
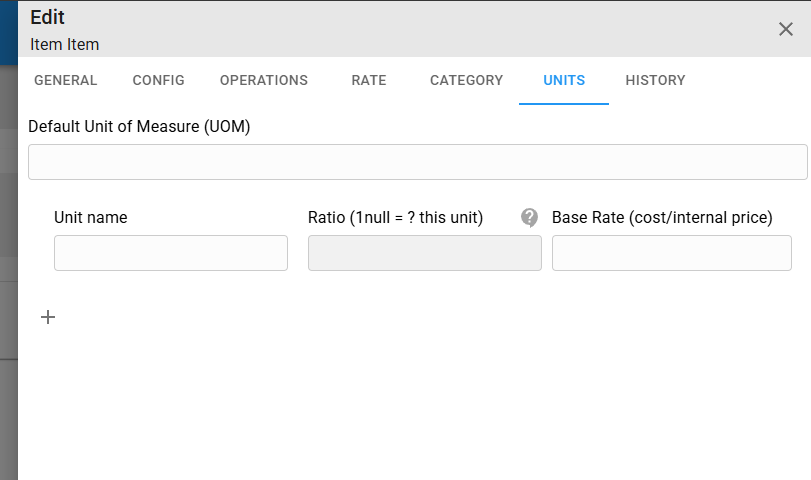
Units tab: Add the different types of units of measure if necessary, e.g. the default can be 1L with additional UOMs as 500ml or 250ml:
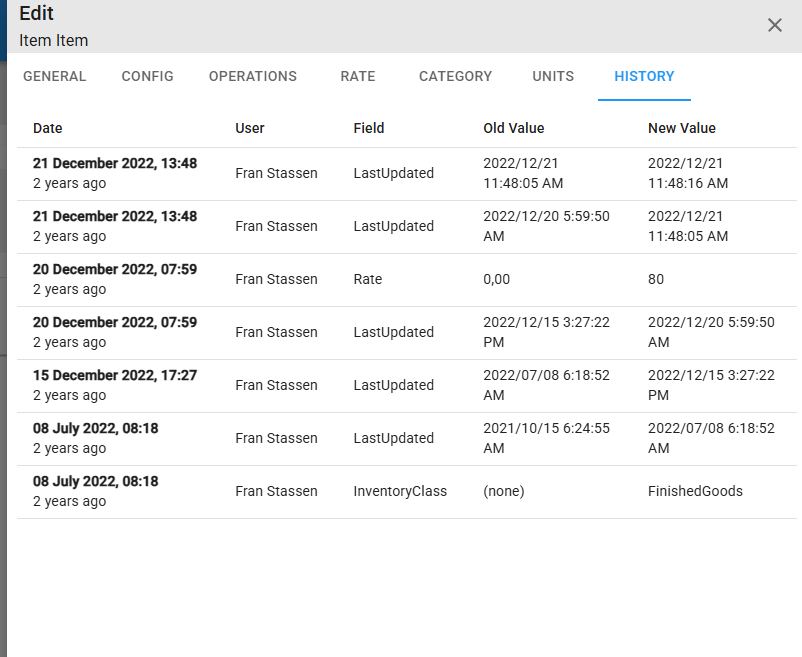
History tab: View all details of the updates made to the inventory on this tab:
Step 4: Select the Save button to update the item OR Select the Cancel button to close the modal, then the item will not be updated.
