Documents can be uploaded and linked to specific clients or linked on jobs. To add and manage general documents, select the Documents option in the Customise menu.
Step 1: To upload a document, select the Upload button on the top right corner of the page:

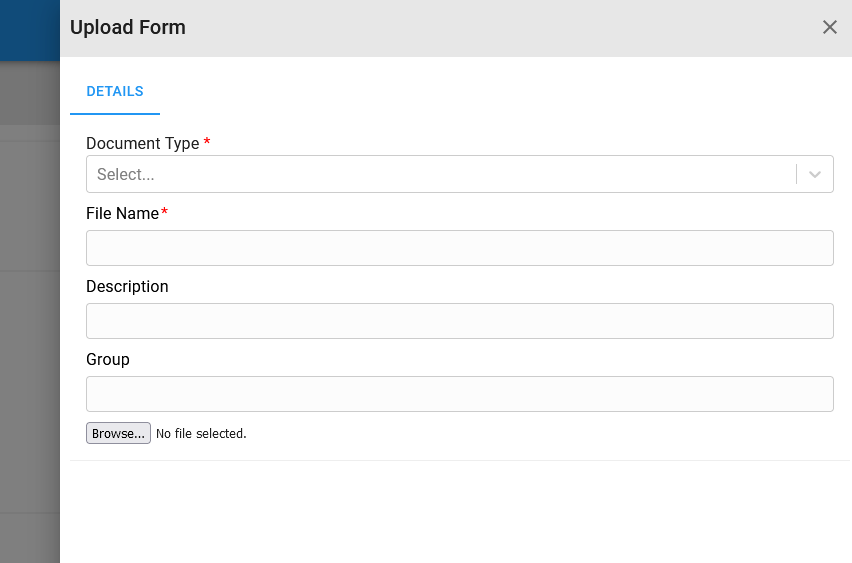
Step 2: Select the document type and enter the file name, description and group. Select the browse button, search and select the document from your device
Step 4: Select the Upload button or select the Cancel button (then the document won’t be uploaded):

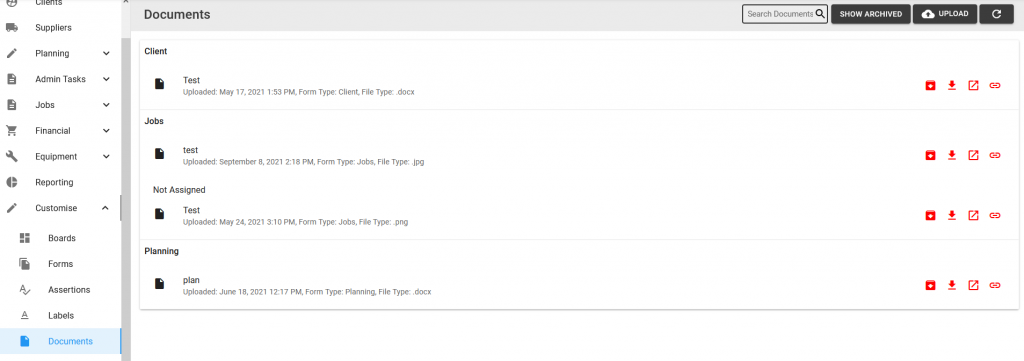
The uploaded document will be displayed on the page:

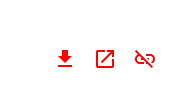
The following button icons will be displayed for each document:
- Archive (or Restore if document is archived)
- Download
- Open (in a new tab)
- Link (to client)

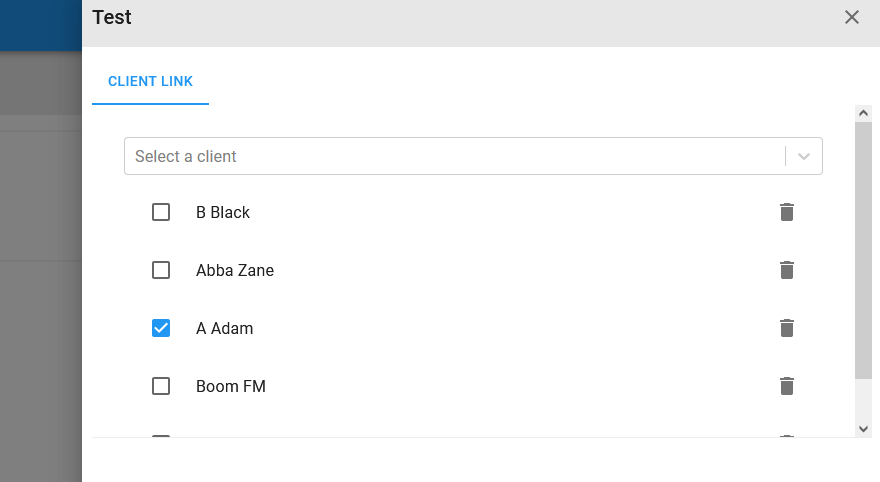
Once the link button is selected, the document can be linked to one or more clients, by searching and selecting a client. Existing links can be removed by selecting the bin icon.
To link an existing document to a job, navigate to a job on the active page and select the Attachments tab in the Overview section. Documents linked to the job’s client will be displayed in the drop down list. Select a document to link it to the job:

Linked jobs can be downloaded, opened or unlinked (remove the link to the job):