The input tab can be used to add input assets and inventory used in the job to produce an output. To add input assets or inventory to a job, navigate to the Active option in the Jobs (or what your account is set to) menu. Please note that assets can only be assigned if you are linked to our MARSS solution: https://www.onmarss.co.za/
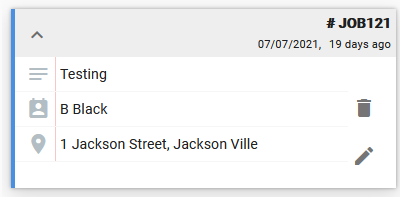
Step 1: Select the edit (pencil) icon on the job card:
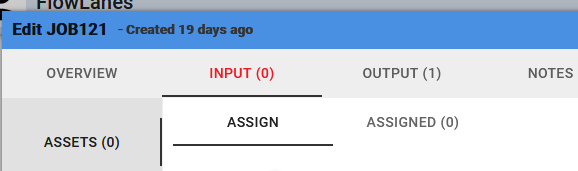
Step 2: Select the input tab at the top of the job card:
Input Assets
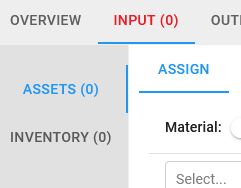
Step 3: To assign assets, select the Assets option on the left side of the job card:
Assets can automatically be selected based on their check in date (FIFO) or based on their expire date (FEFO). This can only be applied if you are using and linked to a Marss account and if you assigned the job Output material.
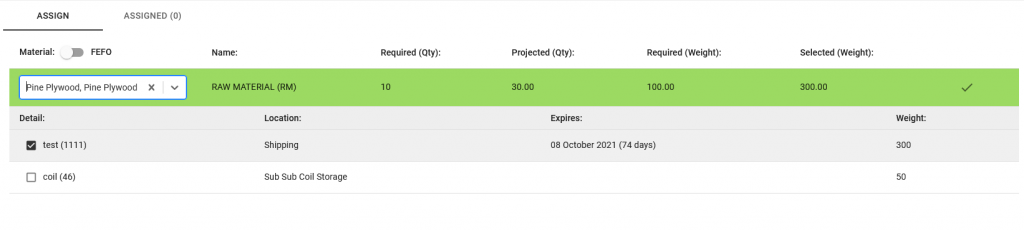
To automatically assign assets select the Assign tab, then select the FIFO (First In First Out) or FEFO (First Expire First Out) toggle. Then select the output material from the drop down list below the material toggle.
Matching assets (from Marss) will be displayed in a list, select one or more assets and then select the green tick in the top right to assign the assets as input.
If an asset is on hold, expired or disposed, it can’t be assigned to a job until it is restored on MARSS.
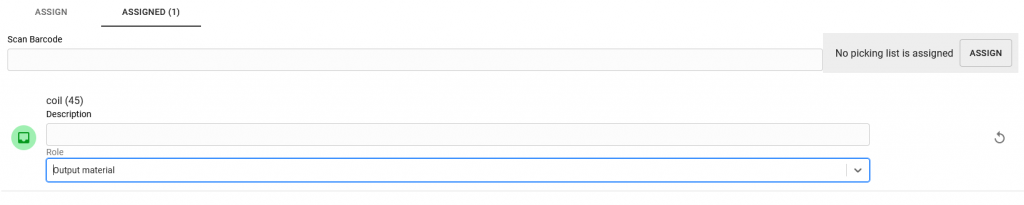
Select the Assigned tab to view the assigned assets, or to manually assign assets as input. Scan or enter the asset barcode then press enter key on your keyboard to assign it to the job. Select the edit (pencil) icon to update the role of the asset as input (input material) or output (e.g. a box or pallet package which will contain the output). Select the arrow button on the right side to update the role.

Input Inventory
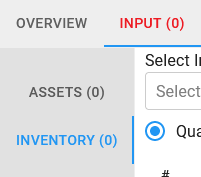
Step 4: To Assign inventory, select the Inventory option on the left side of the job card:
Select the input inventory, then update the quoted and consumed quantities as well as the rate (if necessary or if no default rate set). The inventory can be marked as non-billable or it can be removed. Add as many inventory lines as necessary.

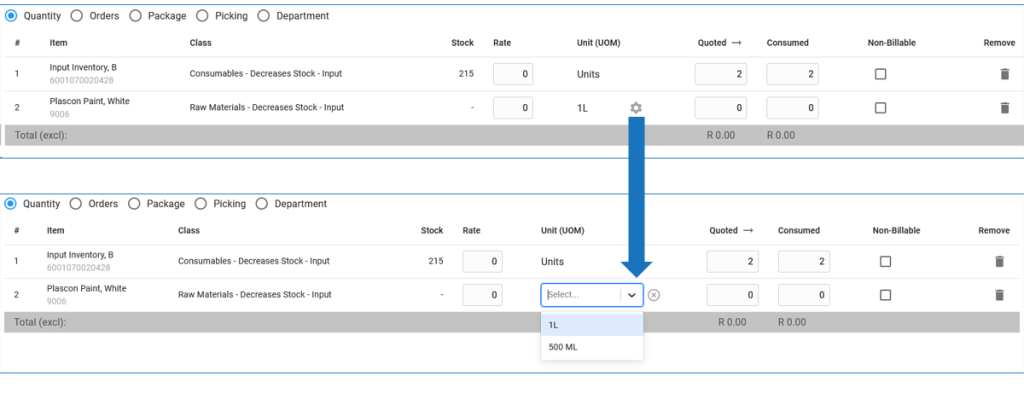
If your inventory allows more than one unit of measure option, select the settings icon next to the unit of measure, and select the applicable unit of measure for the line, the quantity will update accordingly:
The input inventory can also be ordered, packaged, added to a picking list or linked to a department by selecting the different toggles below the inventory drop down list. To order input material, select the Orders toggle, then select the supplier and save the job.

To select the store from which the inventory must be drawn (if you’re using Marss), select the Package toggle, then select the linked store. The class indicator arrow will show if the stock will increase or decrease based on the inventory’s class.

To add your items to a picking list, select the Picking toggle, and then select the Assign button.

Once a picking list is added, additional options will be available. To access this option, select the icon for one of the material lines on Picking List:

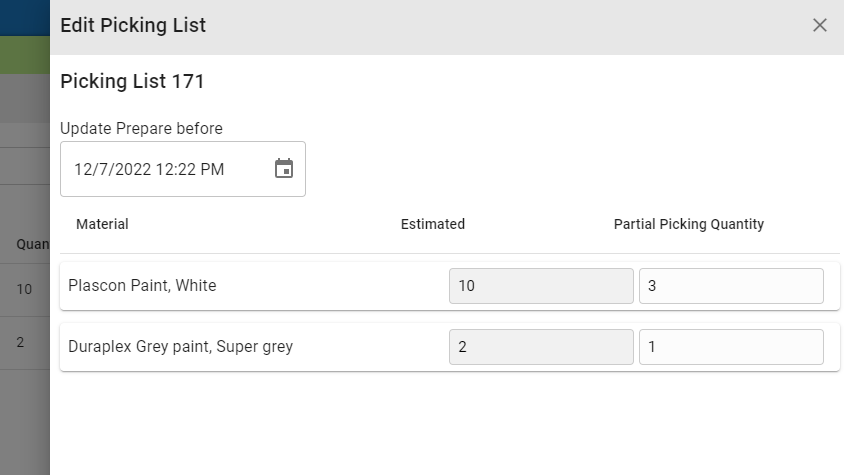
Users can now update the date of the picking list (defaults to today) or enter a partial picking quantity; in case they require less to be picked at present than the total quantity on the picking list. Select the submit button on this pop-up to update the picking list.

Remember to save your job once you’ve made changes.